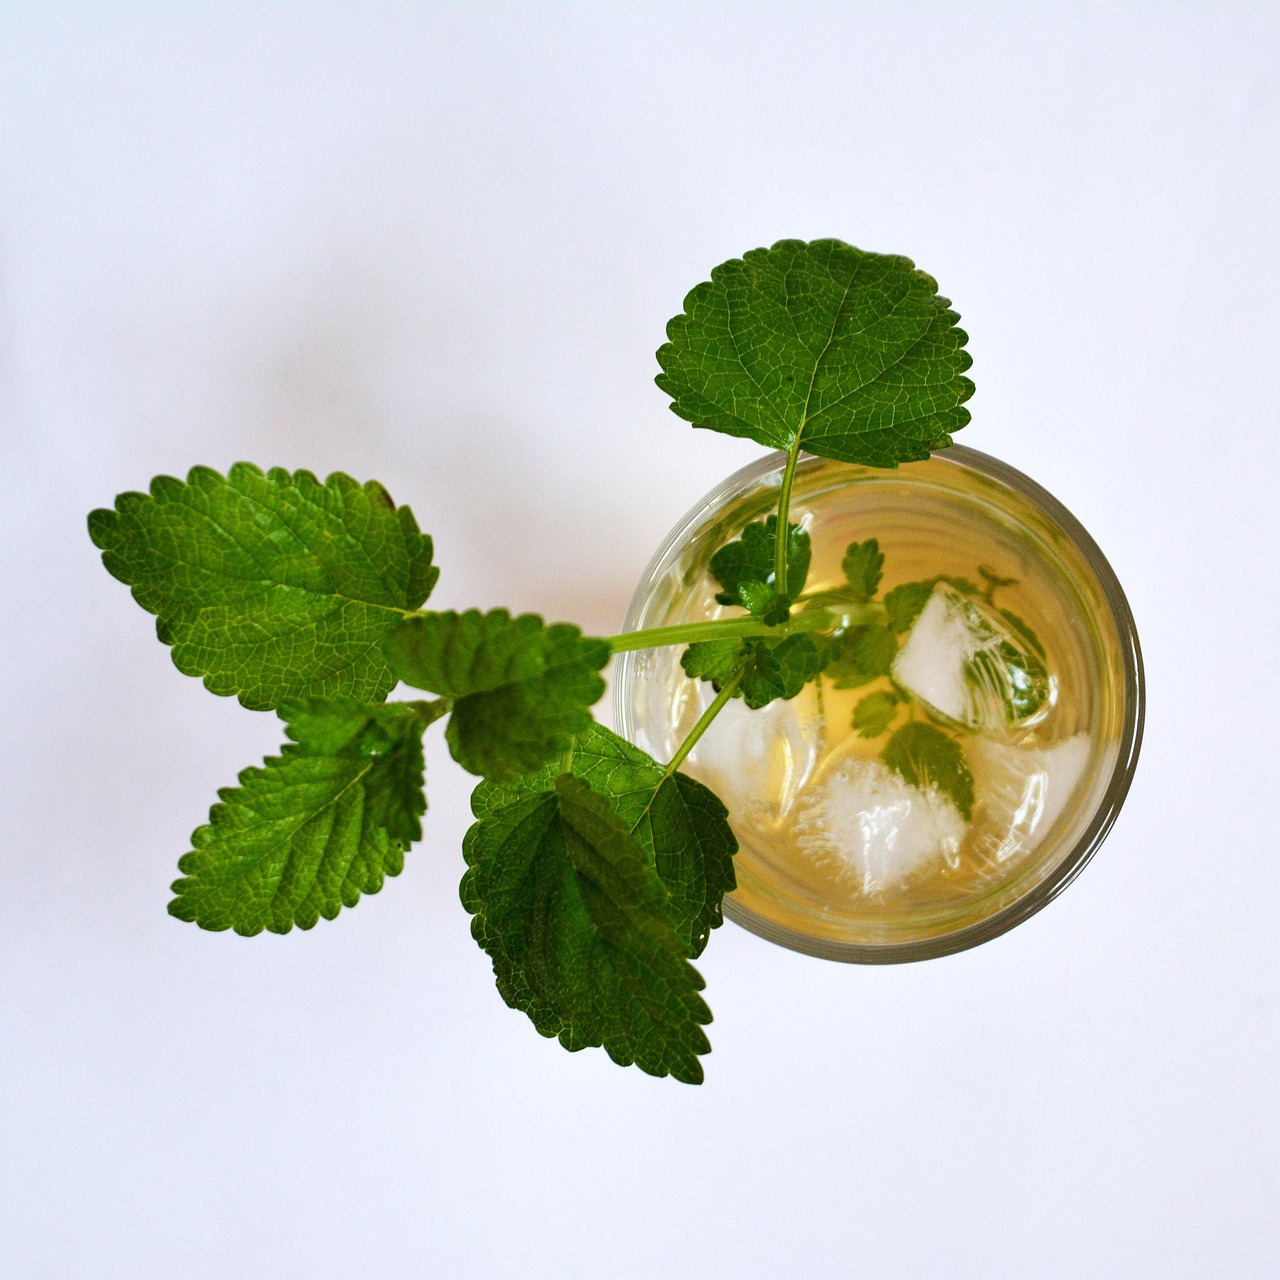
How to Grow Lemon Balm in Your Garden and Enjoy It Alongside Melissa Oil
Lemon balm is one of those plants that earns its place in a garden quickly. The leaves smell bright and green, a little citrusy, faintly herby. Brush them with your hand and the scent lifts immediately. Grow enough of it and you will understand, on a visceral level, why distillers spend so much time and money chasing the concentrated version: pure melissa essential oil.
This guide walks you through how to grow lemon balm from seed or transplant, how to care for the Melissa officinalis plant season to season, and how your fresh garden harvests can complement your use of melissa oil in everyday rituals at home. No complicated equipment required. Just good soil, some patience, and an appreciation for one of the most fragrant herbs in the mint family.
Why Grow Lemon Balm Alongside Melissa Oil?
Melissa essential oil is notoriously scarce. It takes several tons of fresh Melissa officinalis leaves to produce a single kilogram of essential oil, which is why genuine melissa oil commands a high price and why adulteration is so common in the market. Growing your own lemon balm garden gives you a living, aromatic reference point. You learn the plant's character firsthand: the light, lemony brightness of the fresh leaf versus the deeper, more complex citrus-herb signature of the distilled oil.
There is also a practical side. Fresh lemon balm leaves can be used in entirely different ways than the oil: infused into carrier oils, floated in a bath, tucked into a linen sachet, or steeped as a simple tisane for an evening ritual. The oil handles applications where concentration and shelf stability matter. The two work beautifully as a pair.
What You Will Need
For Growing from Seed
- Lemon balm seeds (look for Melissa officinalis on the packet, not blends)
- Seed-starting trays or small pots
- Seed-starting mix or fine-textured potting compost
- A spray bottle for gentle watering
- A warm, bright windowsill or a grow light
For Growing from Transplant
- A nursery-grown Melissa officinalis transplant
- A garden bed with well-draining soil or a container at least 12 inches deep
- Compost or aged organic matter
- Mulch (straw or bark chips work well)
- A watering can
For Harvesting and Using
- Clean garden scissors or pruning shears
- A basket or paper bag for collecting cut stems
- Optional: a fine-mesh drying rack or a paper bag for air-drying
- Your bottle of pure melissa essential oil for aromatic comparison
Step-by-Step: How to Grow Lemon Balm
Step 1: Choose Your Starting Method
You have three options for establishing lemon balm in your garden: starting from seed, buying a transplant from a nursery, or taking a cutting from an established plant.
From seed is rewarding but requires lead time. Lemon balm seeds are small and slow to germinate, sometimes taking two to three weeks. Start them indoors six to eight weeks before your last expected frost date.
From transplant is the fastest route to a productive plant. Most garden centers carry lemon balm in spring. Check the label for the botanical name Melissa officinalis to be sure you are not picking up a lemon-scented pelargonium or a lemon thyme plant instead.
From a cutting works well if you have a neighbor or friend with an established plant. Take a four-inch stem cutting just below a leaf node, strip the lower leaves, and place it in water until roots appear (usually ten to fourteen days), then pot it up.
Step 2: Prepare Your Growing Space
Lemon balm is a perennial herb in USDA zones 4 through 9 and an annual in colder climates. It grows vigorously and will spread if left unchecked. Keep that in mind before planting it directly in a garden bed where you do not want it to naturalize.
For in-ground planting, choose a spot that receives full sun to partial shade. The plant tolerates shade better than many herbs, though it produces more fragrant foliage in bright conditions. Work two to three inches of compost into the top eight inches of soil. Lemon balm prefers soil that drains well but retains some moisture.
For container growing, use a pot at least twelve inches wide and twelve inches deep with drainage holes. Fill it with a good-quality potting mix, ideally one with some added perlite for drainage. Containers give you complete control over spread and are a good choice for small gardens or balconies.
Step 3: Sow Seeds or Plant Your Transplant
For seeds: Fill seed trays with a damp seed-starting mix. Press seeds gently onto the surface. Do not bury them. Lemon balm seeds need light to germinate, so leave them uncovered or press them just barely into the surface. Mist lightly. Cover the tray with a clear lid or plastic wrap to hold humidity, then place it somewhere warm (around 65 to 70 degrees Fahrenheit). Once seedlings emerge and show their first true leaves, thin them so each has at least two inches of space.
For transplants: Dig a hole slightly larger than the root ball. Set the plant so the top of its root ball sits level with the surrounding soil. Backfill, firm gently, and water well. Space multiple plants at least eighteen inches apart. Lemon balm will fill that gap within one season.
Step 4: Water and Feed Consistently
Lemon balm is not a drought-tolerant herb. It likes consistent moisture, especially during its first season. Water deeply once or twice a week, depending on rainfall and temperature. Allow the top inch of soil to dry slightly between waterings, but do not let the plant wilt repeatedly. Wilting stresses the roots and can reduce the aromatic compounds in the leaves.
Feeding needs are modest. A top-dressing of compost in spring is usually sufficient for in-ground plants. For container plants, a half-strength liquid organic fertilizer every four to six weeks through the growing season will keep growth steady. Avoid high-nitrogen fertilizers. They push leafy growth at the expense of fragrance.
Step 5: Prune Regularly to Encourage Fragrant Foliage
This is the step most new growers skip, and it matters. If you let lemon balm flower and go to seed, the leaves lose some of their aromatic intensity. The plant's energy shifts toward reproduction rather than producing the volatile compounds that give the foliage its characteristic scent.
Prune the plant back by one-third to one-half every few weeks during the growing season, cutting just above a leaf node. This keeps the plant bushy, delays flowering, and gives you a steady supply of fresh, fragrant leaves for harvest. If it does flower (small white blooms on tall spikes), cut those stems back promptly. The bees will appreciate the brief flowering period, and you can still redirect the plant's energy back to foliage afterward.
In late autumn, cut the entire plant back to a few inches above the soil. It will die back to the ground in cold climates and re-emerge in spring. In mild climates, it may remain semi-evergreen through winter.
Step 6: Harvest at Peak Fragrance
The best time to harvest lemon balm is mid-morning, after the dew has dried but before the afternoon sun volatilizes the aromatic compounds from the leaves. Harvest just before the plant flowers for the most fragrant foliage. Cut whole stems rather than picking individual leaves. This is faster and encourages the plant to branch more densely.
Use your harvest the same day for fresh applications. For drying, bundle stems loosely with a rubber band and hang them upside down in a warm, dry spot away from direct sunlight. Dried lemon balm loses some of its bright citrus character but retains earthy, herby notes that work well in sachets and drawer liners.
Common Mistakes to Avoid
Letting It Spread Without Containment
Lemon balm self-seeds aggressively. If you deadhead spent flowers before they set seed, you maintain control. Otherwise, you may find lemon balm appearing in unexpected corners of your garden within a season or two. A buried root barrier or a container planting solves this permanently.
Overwatering in Heavy Soil
Waterlogged roots lead to yellowing leaves and a plant that smells more musty than lemony. If your garden soil is clay-heavy, raise the bed by several inches or add significant amounts of grit and compost before planting.
Harvesting the Wrong Plant
At nurseries, several plants share the label "lemon-scented herb." Always crush a leaf and smell before buying. True Melissa officinalis has a soft, lemony green fragrance. Lemon thyme smells sharper and more resinous. Lemon verbena has a more intense, almost candy-like citrus note. They are all lovely plants, but only Melissa officinalis is true lemon balm.
Comparing Fresh Leaves Directly to Melissa Oil and Feeling Disappointed
The gap between fresh lemon balm leaves and genuine melissa essential oil is wide. The oil undergoes distillation that concentrates and transforms the aromatic profile. If your fresh leaves smell lighter or greener than you expect based on your melissa oil, that is completely normal. They are different expressions of the same plant.
Pairing Your Lemon Balm Garden with Melissa Oil at Home
Once your Melissa officinalis plant is established, you will find natural moments where fresh foliage and bottled melissa oil complement each other in daily routines.
The Aromatic Comparison Ritual
Keep a few fresh lemon balm leaves near your melissa oil. When you open the bottle, crush a leaf in your other hand. The exercise is genuinely interesting: you will notice what steam distillation adds and what it changes. The oil carries a depth of citrus-floral character that the fresh leaf only hints at. This is one of the most educational things a person curious about aromatic plants can do at home.
Fresh Leaves in Evening Routines
A handful of fresh lemon balm leaves placed in a bowl of warm (not boiling) water near your bed releases a light, grassy citrus scent into the room. It is a subtle aromatic gesture for a wind-down evening. Pair it with a diffuser blend featuring melissa oil for a layered effect. For ideas on structuring a calm evening with melissa oil, see our guide on how to use melissa oil at home for a calm evening ritual.
DIY Pillow Mist with a Botanical Twist
Tuck a few dried lemon balm leaves into your pillowcase alongside using a lightly scented pillow mist made with melissa oil. The dried leaves contribute a faint, pleasant scent of their own while the mist carries the more concentrated aromatic signature. Our DIY melissa pillow mist recipe is a good starting point if you want to make your own spray at home.
A Botanical Soak with Fresh and Distilled
At bath time, you can float a few fresh lemon balm sprigs in the water alongside a properly diluted melissa oil blend. The fresh sprigs add a mild, pleasant scent to the steam; the oil provides depth and longevity. Always dilute melissa essential oil into a carrier oil or an unscented bath dispersant before adding it to bathwater. Undiluted essential oil on the skin, even briefly in a bath, can cause sensitivity. For a complete approach to this kind of ritual, our DIY melissa bath oil and salts guide covers dilution ratios and safety notes in full.
Expected Results: What to Anticipate from Your Lemon Balm Garden
In its first year, a lemon balm plant started from seed may stay relatively small through midsummer before putting on a flush of growth in late summer. Transplants typically establish faster and may give you a light harvest by midsummer of the first year.
By year two, the plant becomes noticeably more productive. A single well-established Melissa officinalis plant can yield several generous harvests per season. You may find yourself with more than you can use fresh, which makes the case for drying or infusing into oil.
Fragrance intensity varies with conditions. Plants in full sun with good drainage tend to produce more fragrant foliage than those in heavy shade or waterlogged soil. Some growers report that plants stressed slightly by dry conditions in midsummer produce particularly aromatic leaves, though consistent stress is not good for the plant's long-term health.
One honest note: no quantity of homegrown lemon balm will replicate the depth and concentration of genuine melissa essential oil. That is simply the nature of distillation. What the garden gives you is something different and equally valuable: a living connection to the source plant, a steady supply of fresh aromatic material for your own rituals, and a much deeper appreciation for the craft and cost behind every small bottle of true melissa oil.
A Few Notes on Quality and Sourcing
If you are growing lemon balm alongside melissa oil, it is worth being thoughtful about the oil you choose. Because genuine melissa is so costly to produce, many products labeled "melissa oil" contain lemon oil, citronella, or lemongrass as partial or complete substitutes. A bottle priced similarly to other common essential oils is a reliable signal that something is off.
Look for a supplier who discloses the country of origin, the botanical name (Melissa officinalis), the part of the plant distilled (aerial parts), and ideally GC/MS testing results. Your homegrown plant gives you a genuine aromatic benchmark. If the oil you purchase does not share any character with the fresh leaf you are growing, ask questions before buying again.
Growing lemon balm and using quality melissa oil are two different experiences that inform each other. The plant teaches you patience, observation, and the reality of how much raw material goes into a small bottle. The oil gives you a concentrated aromatic encounter that the garden cannot fully replicate. Together, they make for a more grounded, more interesting relationship with one of the rarest notes in botanical perfumery.