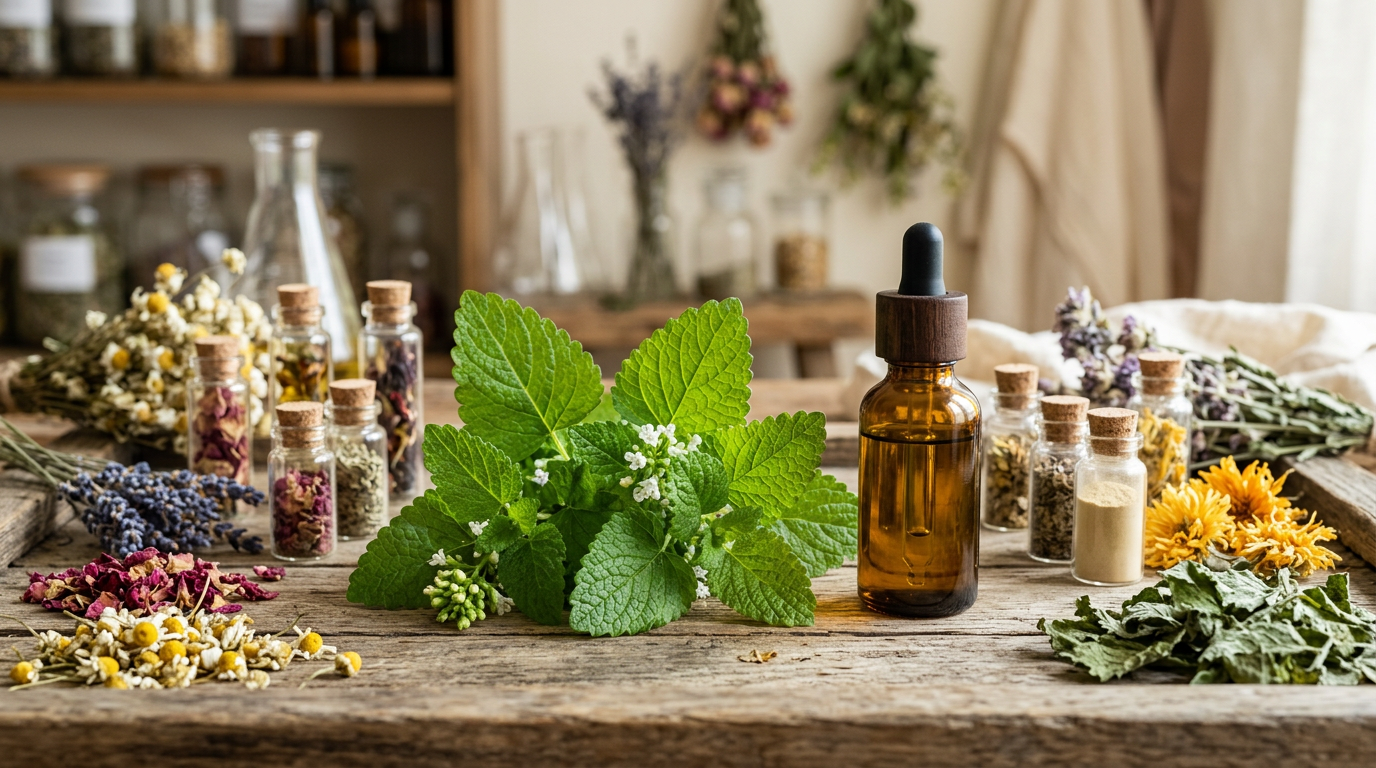
How to Make a Melissa Oil Solid Perfume Balm at Home
A solid perfume balm is one of the best ways to wear melissa essential oil. Because melissa (Melissa officinalis, also called true lemon balm) is one of the most expensive essential oils on the market, a few drops go a long way in a wax-based balm, and the format holds its bright, honeyed lemon note close to the skin instead of letting it evaporate into the room the way a spray would. This melissa oil solid perfume recipe uses a simple two-ingredient base, a small amount of true melissa oil, and about twenty minutes of hands-on time. No candle-making experience required.
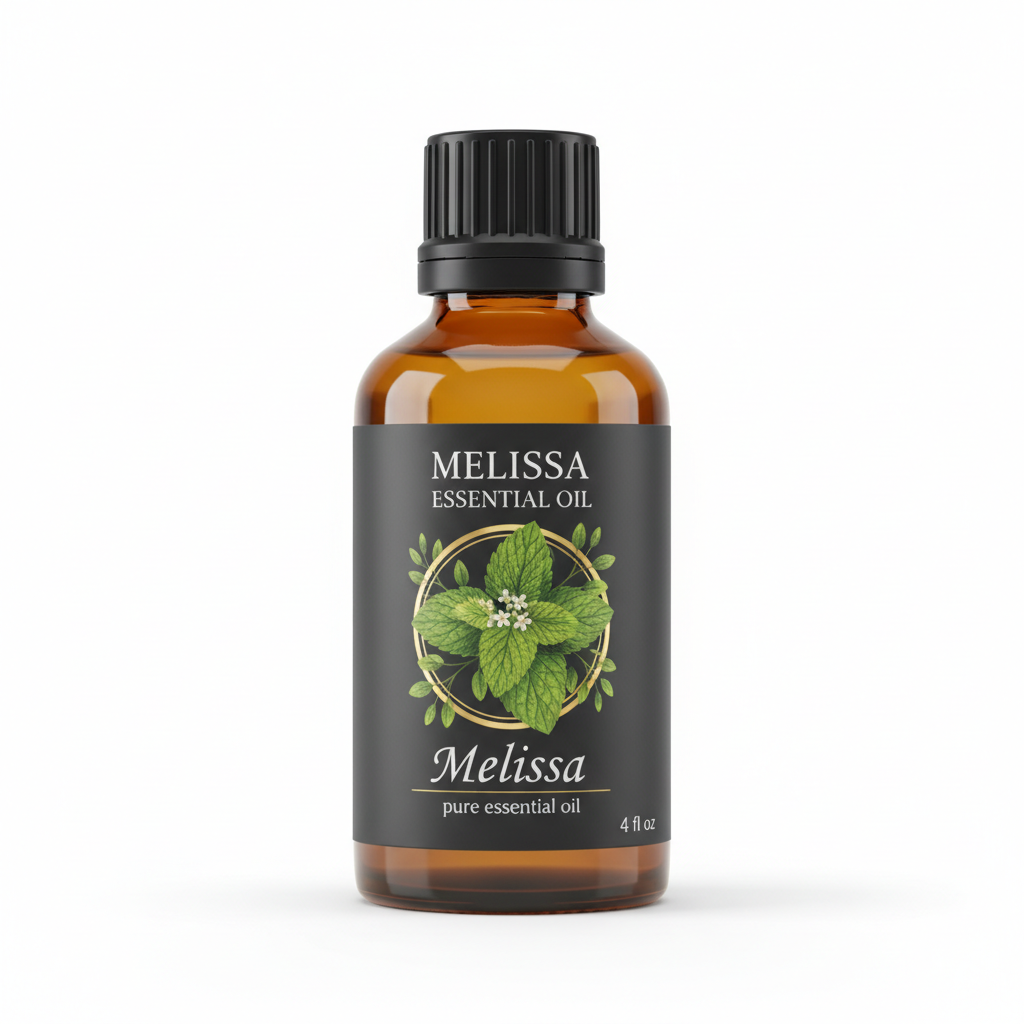
Melissa Essential Oil
Our own Melissa Essential Oil, in sizes from 0.5 oz to bulk.
From $20.99
Shop Now →Below you'll find the full ingredient list, a numbered method, the mistakes that most often ruin a first batch, and honest notes on what to expect from the finished balm.
Why Melissa Oil Works So Well in a Solid Balm
Melissa essential oil is famous, and famously scarce. It can take well over a ton of fresh lemon balm herb to yield a single pound of oil, which is part of why true melissa oil carries such a high price tag compared to lemon, lemongrass, or citronella. A solid perfume balm respects that scarcity: you're using drops, not ounces, and the wax and carrier oil base means the scent releases slowly from warm skin throughout the day rather than disappearing in the first ten minutes.
The lemony, slightly green, faintly floral character of a genuine melissa essential oil perfume is also just pleasant to wear on its own, without needing to be layered under anything else. If you want it rounder and less sharp, a drop or two of lavender or geranium blends in nicely, but the melissa can absolutely stand alone.
What You'll Need
Ingredients
- 1 tablespoon beeswax pellets (or candelilla wax for a vegan version, use slightly less since candelilla sets firmer)
- 2 tablespoons carrier oil, such as jojoba, fractionated coconut oil, or sweet almond oil
- 8 to 10 drops melissa essential oil, verified pure (see the note on sourcing below)
- Optional: 4 to 6 drops of a complementary oil such as lavender, bergamot, or geranium, to soften the top note
- 1/4 teaspoon vitamin E oil (optional, helps slow oxidation of the carrier oil)
This ratio makes roughly 3 tablespoons of finished balm, enough for two or three 0.5 oz tins. Because melissa is priced by the drop, there's no reason to make a larger batch until you know you like the result.
Tools
- A small heatproof glass measuring cup or jar
- A saucepan for a makeshift double boiler (a few inches of water, jar set inside)
- A wooden skewer or small silicone spatula for stirring
- A kitchen scale or measuring spoons
- Two or three small metal tins or lip-balm style containers with lids
Step-by-Step Instructions
Step 1: Set Up a Double Boiler
Fill a small saucepan with about two inches of water and bring it to a gentle simmer, not a rolling boil. Set your heatproof glass jar or measuring cup inside the water, making sure no water splashes into the jar. This indirect heat keeps the wax from scorching, which matters because scorched wax carries a faint burnt smell that will fight with the melissa later.
Step 2: Melt the Wax
Add the beeswax pellets to the jar and let them melt slowly, stirring occasionally with your skewer. This usually takes three to five minutes. Keep the heat low. Beeswax has a fairly forgiving melting point, but rushing it with high heat is one of the more common ways a first batch goes wrong.
Step 3: Stir in the Carrier Oil
Once the wax is fully liquid, add the carrier oil and stir until the two are completely combined and glossy. The mixture should look like a thin, pale honey at this point. Remove the jar from the heat.
Step 4: Let the Mixture Cool Slightly
This step is easy to skip and shouldn't be. Let the melted base sit for one to two minutes off the heat before adding any essential oil. Melissa's lighter aromatic compounds are delicate, and pouring drops into oil that's still near boiling can flatten the scent before the balm ever sets. You want the mixture warm and still liquid, just not scalding.
Step 5: Add the Melissa Essential Oil
Add your 8 to 10 drops of melissa oil (plus any complementary oil you're using) and stir gently but thoroughly for about fifteen seconds. If you're adding vitamin E oil, stir that in now as well.
Step 6: Pour Into Tins
Working quickly before the mixture starts to set, pour it into your prepared tins. Fill them close to the rim but leave a small gap at the top so the lid closes cleanly once the balm firms up.
Step 7: Cool and Cure
Let the tins sit undisturbed at room temperature for at least an hour, or until fully solid. Don't move them to the refrigerator to speed this along; rapid cooling can cause the wax to separate slightly from the oil and leave a grainy or streaky top, which is a purely cosmetic issue but an avoidable one.
Step 8: Label and Store
Once set, cap the tins and label them with the date you made them. Store in a cool, dark spot away from direct sunlight or a warm windowsill, since heat will soften solid perfume back toward a liquid state.
Sourcing the Right Melissa Oil Matters
Because true melissa officinalis oil is so costly to produce, the market has a well-documented adulteration problem: many bottles labeled "melissa" are cut with or entirely replaced by lemongrass or citronella, which smell similar at a glance but lack the fuller, rounder character of the real thing. For a recipe where the melissa oil is the entire point of the project, it's worth buying from a supplier who publishes GC-MS testing results and can tell you where the herb was grown. If you're curious how to tell the difference between a homemade lemon balm infusion and true steam-distilled melissa oil, this comparison walks through both methods and what each one can and can't do for a project like this.
Tips for a Better Batch
- Keep the ratio close to 1 part wax to 2 parts carrier oil. More wax gives a firmer, almost lipstick-like balm; more oil gives a softer, cream-like texture that's nice in cold weather but can turn liquid in a warm bag.
- Use a light-colored carrier oil like jojoba or fractionated coconut oil if you want the melissa's lemon note to stay bright. Heavier oils like olive oil bring their own scent that can muddy the top note.
- Make a small batch first. Given the cost of melissa oil, a 3-tablespoon test batch is the smart way to dial in your preferred strength before scaling up.
- Warm the balm between your fingertips for a few seconds before applying, then dab it at pulse points the same way you would a traditional perfume.
- Write the batch date on the tin. It sounds unnecessary until you have three unlabeled tins in a drawer six months later.
Common Mistakes to Avoid
- Adding the essential oil while the base is too hot. This is the single most common reason a finished balm smells weaker than expected. Let the wax and carrier oil cool for a minute or two first.
- Using a fragrance oil instead of essential oil. A synthetic "melissa fragrance oil" will smell similar on the shelf but is a different product entirely, and won't behave the same way in a natural solid perfume lemon balm recipe.
- Overloading the drop count. More melissa oil isn't automatically better. Past a certain point the scent becomes sharp rather than rounded, and you're spending more of a costly ingredient for a worse result. Start at 8 drops and adjust by one or two drops on your next batch.
- Skipping the patch test. See the safety section below before your first full application.
- Storing tins somewhere warm. A car console or a sunny bathroom shelf will soften or melt the balm back down.
Safety Notes and Patch Testing
This recipe uses melissa essential oil at a low overall concentration once diluted into the wax and carrier oil base, generally landing well under 2% of the finished balm. Even so, melissa is considered one of the more potent essential oils by volume, and individual skin sensitivity varies from person to person.
Before applying any new balm to your neck, wrists, or other pulse points, do a patch test: apply a small amount of the finished balm to the inside of your forearm, cover loosely, and wait 24 to 48 hours to see how your skin responds before wider use. If you notice any redness, itching, or discomfort at the test site, wash the area and discontinue use.
A few additional points worth keeping in mind, covered in more depth in our full guide to melissa oil dilution and patch testing:
- Keep finished balm away from the eyes and other sensitive areas.
- Keep essential oils and finished balms out of reach of children and pets.
- If you are pregnant, nursing, or have a known skin sensitivity, talk with a qualified healthcare provider before adding a new essential oil product to your routine.
- This balm is intended for external, cosmetic and aromatic use only.
What to Expect From the Finished Balm
A well-made melissa oil solid perfume typically has a soft, semi-firm texture at room temperature, similar to a lip balm, and should glide on smoothly when warmed between the fingers. The scent tends to open bright and lemony, with a gentle green, herbal undertone that some people describe as calming to wear during a quiet evening routine, though individual impressions of any scent are naturally subjective. Most home-set balms hold their aroma at the skin's surface for a few hours, fading gradually rather than disappearing all at once, which is part of the appeal of a wax-based format over an alcohol-based spray.
Expect some batch-to-batch variation. Beeswax from different sources varies slightly in scent and firmness, and the exact aromatic profile of your melissa oil will depend on the herb's growing conditions and harvest, the same way a bottle of wine varies by vintage. If you'd like to understand more about how that natural variation shows up in melissa specifically, this scent breakdown is a useful next read.
Storage and Shelf Life
Stored in a cool, dark place with the lid closed, a beeswax and carrier oil solid perfume generally stays in good condition for six to twelve months. Adding vitamin E oil to the base can help slow oxidation of the carrier oil, but it won't extend the life of the melissa's top note indefinitely. Melissa oil's lighter aromatic compounds do soften over time even in a sealed tin, so if you want the brightest possible scent, plan to use a batch within the first few months rather than saving it for a special occasion a year out.
If the balm ever develops an off, waxy-rancid smell that wasn't there when you made it, that's a sign the carrier oil has turned and it's time to make a fresh batch rather than try to salvage the old one.
A Simple Way to Wear a Rare Oil
Making your own melissa oil solid perfume recipe at home is a good way to experience true melissa essential oil in a format that stretches a small, precious bottle much further than a diffuser blend would. The method itself is forgiving. Melt, cool slightly, add your oils, pour, and let it set. The part that actually determines how good the result smells is the quality of the melissa oil going into it, so it's worth spending your budget there rather than on elaborate equipment.